
This article is a quick guide for Ubuntu Linux users installing Java 11, the current long-term support (LTS) Java version. I’ll briefly make the case for migrating your code base to Java 11, then guide you through the steps to install Oracle JDK 11 using the Ubuntu command line.
Note that this is a quick guide for Ubuntu users installing Java 11. I won’t dive too deep into Java 11 features or migration issues, which are amply covered elsewhere.
Contents
The case for migrating to Java 11
Released in March 2014, Java 8 promised a more modern approach to Java development. This trend continued in 2017, when Oracle announced a faster development cadence, throwing out the all-or-nothing approach that had allowed Java SE to stagnate between previous releases.
Fewer Java releases are slated for long-term support, so it’s important to pay attention. The much-loved Java 8 is already in the dustbin, as far as Oracle is concerned, and so are Java 9 and Java 10. You can still use these versions, but they are not being actively updated or supported.
For developers looking for the ideal mix of current features and long-term support, JDK 11 is a good bet. Oracle has committed to Java SE 11 until 2026. The combination of features, updates, and support makes this version ideal for new development, as well as for migrating your Java 8 code-base to a newer platform.
Note that this tip assumes you have already installed Ubuntu 18.04 or 18.10.
Step 1: Install Oracle JDK 11
The first thing you need to do is update the system, using the following command:
sudo apt update && sudo apt upgradeNext, make sure the checksum of the binary matches:
cd Downloads/
sha256sum jdk-11.0.5_linux-x64*
Now create a folder and copy the Oracle JDK 11 from downloads:
sudo mkdir -p /var/cache/oracle-jdk11-installer-local/
sudo cp jdk-11.0.5_linux-x64_bin.tar.gz /var/cache/oracle-jdk11-installer-local/
Tip: You may also want to create a folder in /var/cache/oracle-jdk11-installer-local/.
Next, you will add PPA (Personal Package Archive) to Ubuntu apt:
sudo add-apt-repository ppa:linuxuprising/java
sudo apt-get update
Doing this ensures the package cache will be automatically refreshed.
Now install Oracle JDK 11:
sudo apt install oracle-java11-installer-localLastly, always check whether the installation has been successful:
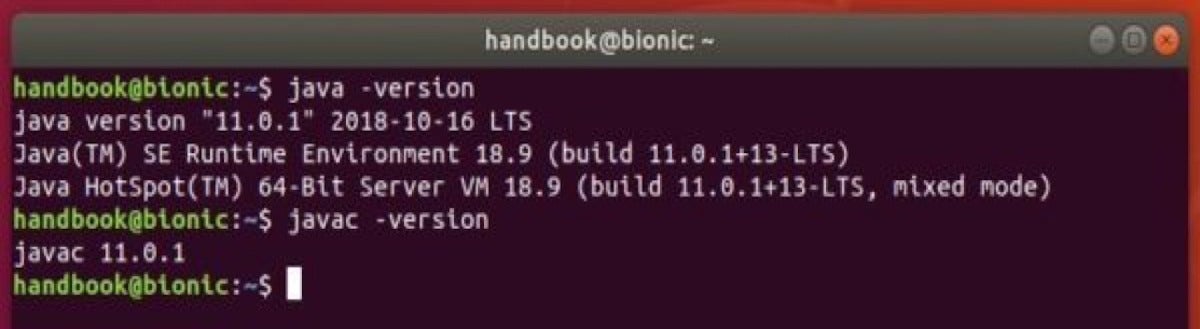
java --versionIf your install was succesful, you’ll see something like this:
root@ubuntu:~# java --version
java version "11.0.5" 2019-10-15 LTS
Java(TM) SE Runtime Environment 18.9 (build 11.0.5+10-LTS)
Java HotSpot(TM) 64-Bit Server VM 18.9 (build 11.0.5+10-LTS, mixed mode)
Step 2: Install Oracle JDK 11 in Ubuntu 18.04/18.10
Once again, you start by adding PPA:
- Open the Ubuntu terminal, either from app launcher or by pressing Clt + Alt + T.
- Run command:
sudo add-apt-repository ppa:linuxuprising/java.
Next, you’ll install the script that initiates downloading and installing Java 11 on Ubuntu:
sudo apt-get update
sudo apt-get install oracle-java11-installer-local
Accept the license by pressing Tab to highlight OK, then hit Enter.
Tip: You’ve already added PPA, so you can skip sudo apt-get update command.
What if you’ve installed multiple versions?
If you have installed multiple versions and want to remove earlier ones, start by entering remove oracle-java11-set-default package, then set Java 11 as the new default: sudo apt-get install oracle-java11-set-default-local.
Use the java --version to check the current version.
You should see something like this:
 Kibo Hutchinson
How to uninstall JDK 11
If for any reason you wish to uninstall Oracle JDK 11, simply run the following command:
sudo apt-get remove oracle-java11-set-default-localAs as an Ubuntu user, recall that you may go to Software & Updates -> Other Software to remove the PPA repository.
[“source=javaworld”]